Paver Installation Process
Paver Installation Process
EASTROCK LANDSCAPE
This project consisted of removal of the existing concrete driveway and entryway and replacing them with a combination of concrete and Calstone pavers. The process included extensive excavation and drainage work.
The existing concrete driveway color did not complement the home's true potential. It created a cold atmosphere impeding on the beautiful architecture of the home. Drainage issue were evident possibly contributing to cracks and unsightly stains.

RENOVATION OF FRONT DRIVEWAY AND ENTRYWAY .................

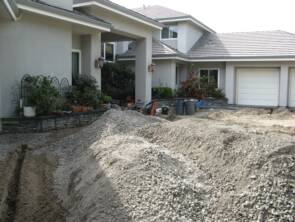
DEMO, EXCAVATION AND GRADING .....................................................
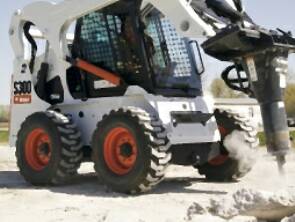
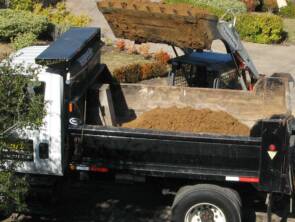
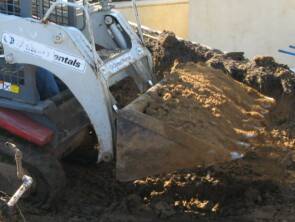
This phase consists of noise, dust, broken concrete and dirt. A driveway and front entryway renovation will cause some inconvenience while the work is completed.
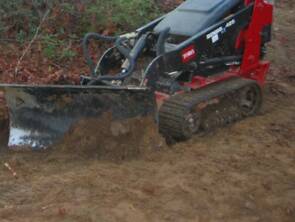
Usually large equipment is used to break-up the concrete and haul it away. This makes the process go faster keeping the project on schedule. When access is tight, smaller tractors or manual labor will be required. This can slow a projects progress. After the demolition and excavation is complete the grounds will be graded.
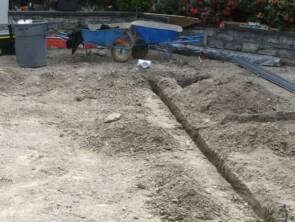
DRAINAGE AND UTILITIES .........................................................................
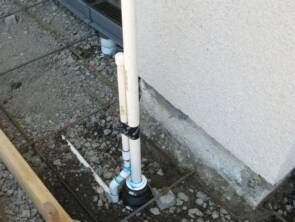
During this stage all drainage and utility (irrigation, wiring, gas, conduit, etc.) installation is completed.
Our project had a steep blacktop road sloping down onto our driveway and a large hillside next to the driveway. The home owner's were concerned about foundation settling and existing drainage issues.
We dicided to enhance the system with (3) different types of drainage solutions. Contributing to the challenge, during inspection of the existing drainage system we discovered crushed drain pipes which required replacing.
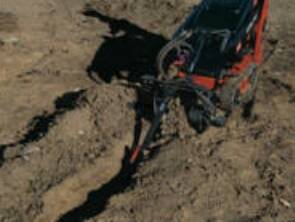
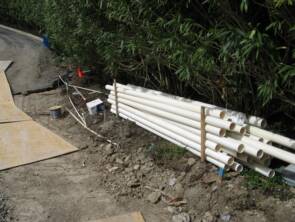
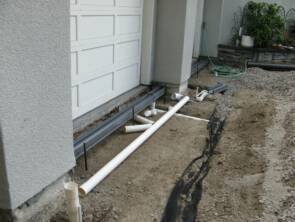
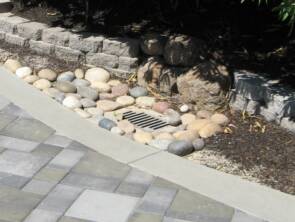
The first step was to install trenches in the proper locations and at the correct depth. Next, we installed solid pvc drain pipe and tied it into all down spots and surface drains. A large 12" x 18" surface drain was installed next to the hillside to capture the surface water from both the steep entry road and the hillside. In additional we installed a large 12" round surface drain to capture run off from the pavers.
A french drain was installed to collect sub-surface moisture helping to protect our client's home foundation and to protect the driveway sub-grade.
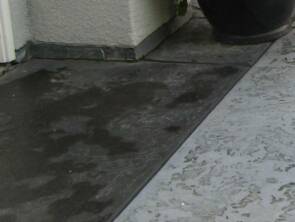
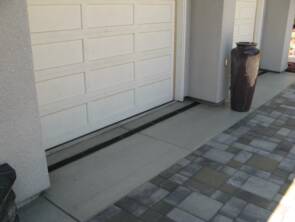
A channel drain was installed in front of all garage doors to prevent blowing rain from entering.
We also installed irrigation and drainage for each decorative pot located at the entryway and between the garage doors.
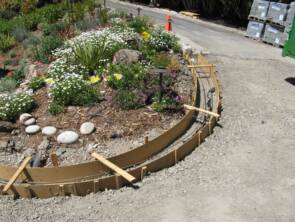
If concrete borders are part of the design they are installed during this phase along with the fabric and base rock.
Wood forms are set up to provide the framing of the new concrete borders. Wood stakes are used to hold the forms in place. Steel re-bar is installed to help re-enforce the concrete.
Prior to the gravel being installed a heavy fabric is positioned to keep the sub-grade stable.
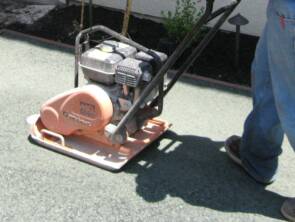
Driveway pavers require a deeper layer of base rock then patio pavers to provide additional support for heavy vehicles.
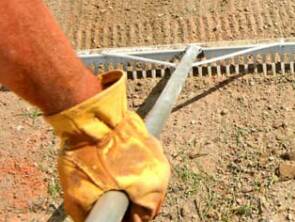
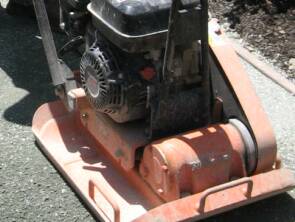
The base rock is evenly graded and compacted with a plate compactor. The gravel is watered during this stage to help settle the fines and increase the compaction.

BORDERS, FABRIC, BASE ROCK AND COMPACTION .........................

BASE / TOP SAND AND PAVER INSTALLATION ...................................
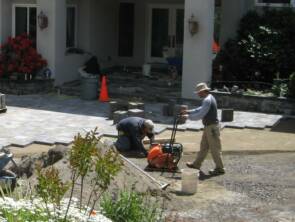
This process includes the installation of course sand, leveling, installation of the pavers and finally a top sand.
After the concrete borders are installed, forms removed and the base rock compacted an approximate 1" layer of course sand is installed. The sand is leveled to the correct height and we are ready for paver installation.
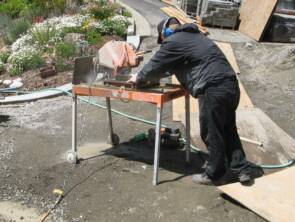
Paver installation requires cutting along borders and drains. This can be a time consuming process to get the cuts just right. Large electric table saws, grinders and manual paver cutters are used to get the paver cuts perfect.
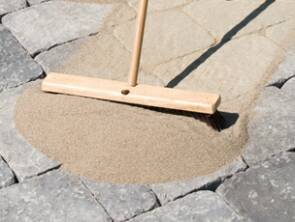
After the pavers are installed a fine sand is broomed over the pavers filling the gaps. The pavers receive a few more passes with the plate compactor to complete the installation.
The project is cleaned and detailed.
Sealer can be applied to protect or enhance the pavers. You can review our
Sealer - Pro's and Con's for more information about sealing.
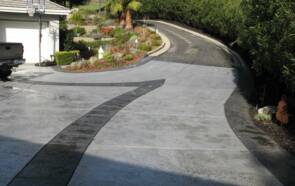
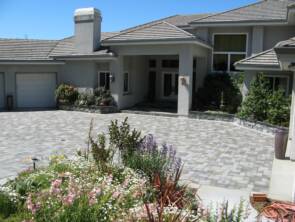
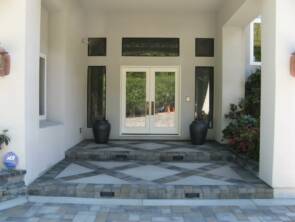
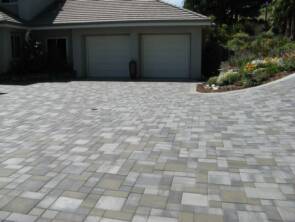
FINISHED DRIVEWAY AND ENTRYWAY ...............................................
Paver Manufacturer- Calstone
Style- Mission
Color Mix- 70% Gray / Charcoal and 30 % Green Charcoal
Pattern- Mission 3
Pattern Percentages-
- 12" x 12" 40%, 6" x 12" 40%, 6" x 6A" 20%
Pattern Angle- 22.5 degree
Border- 18" colored concrete
Sealer-
This gorgeous front driveway and entryway have a blend of colors from Calstone that complement this home's formal architecture. The entryway was a design combination of concrete and matching inlayed pavers providing an elegant and stylish impact. Drainage was a major consideration involving surface, channel and sub-surface drainage.

"Excellence In Craftsmanship"